Quick Start
In this quick start, we will go through the necessary steps for you to start using the API.
Step 1: Sign up to Probely
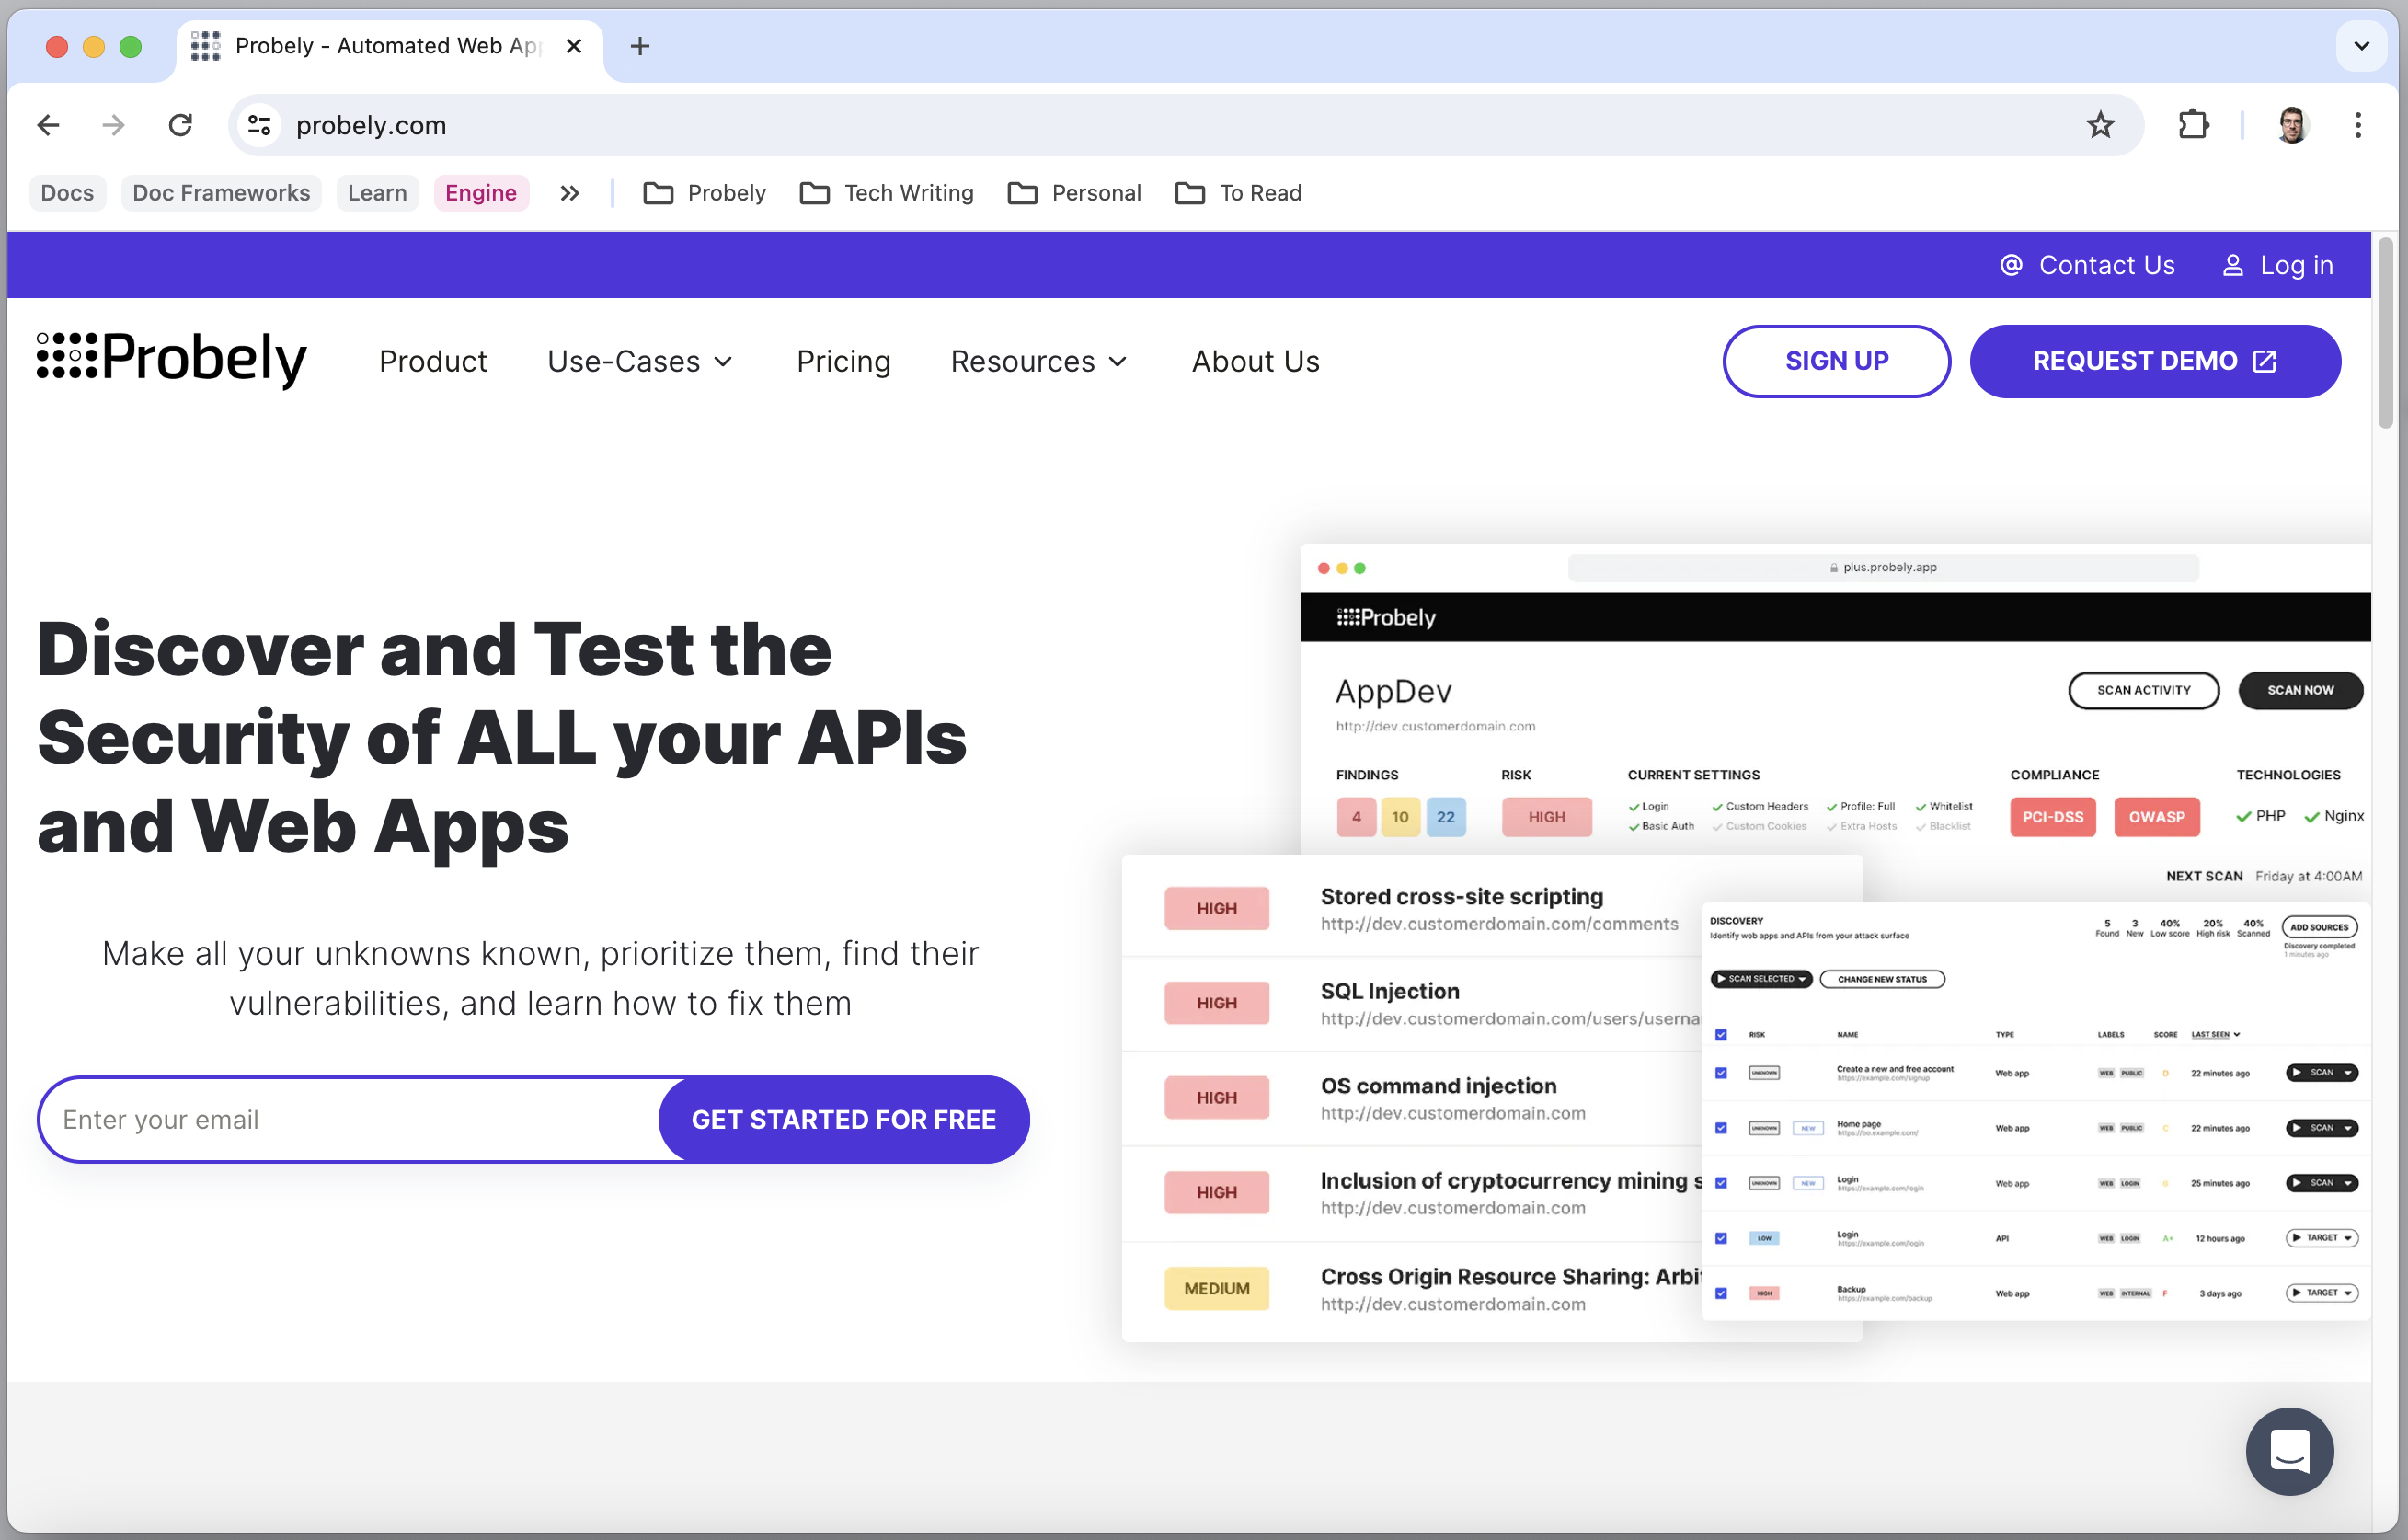
The first thing you need to do is to sign up to Probely to create an account:
- Go to probely.com
- Click on SIGN UP and follow the steps.

For more details on the sign-up, check this article on Getting Started with Probely.
Step 2: Get the authorization token
With your account created, you have to generate an API Key. It will be your authorization token to make requests to the API. Check all the necessary steps in the Authentication topic.
Step 3: Make your first call to the API
Once you have your authorization token, you can start making calls to the API. In this case, we're going to get the user profile. The endpoint doesn't need any parameter since it will return the profile of the user associated with the authorization token. So, in the request below, simply replace <YOUR_API_TOKEN> with your authorization token.
curl https://api.probely.com/profile/ \
  -X GET \
  -H 'Authorization: JWT <YOUR_API_TOKEN>'
  -H 'Content-Type: application/json' \
The response will return a JSON with the user profile.
{
    "id": "489nrQr8BYba",
    "email": "",
    "name": "John Smith",
    "title": "",
    "is_billing_admin": false,
    "changed_by": {
        "id": "2v9Fo4nXqKyv",
        "email": "[email protected]",
        "name": "John Smith"
    },
    "changed": "2024-06-20T15:13:35.193449Z",
    "active": true,
    "labels": [],
    "user_roles": [
        {
            "id": "3UCzLecarr7L",
            "user": {
                "id": "489nrQr8BYba",
                "email": "",
                "name": "John Smith"
            },
            "role": {
                "id": "41qgExRsixPX",
                "name": "Developer",
                "permissions": [
                    {
                        "id": "change_finding",
                        "name": "Change Finding"
                    },
                    {
                        "id": "change_risk",
                        "name": "Change Risk"
                    },
                    {
                        "id": "change_target_settings",
                        "name": "Change Target Settings"
                    },
                    {
                        "id": "start_retest",
                        "name": "Start Re-test"
                    },
                    {
                        "id": "start_scan",
                        "name": "Start Scan"
                    },
                    {
                        "id": "view_target",
                        "name": "View Target"
                    }
                ],
                "custom": false,
                "description": "Can list and edit targets, and start scans on assigned ones."
            },
            "scope": {
                "tier": "account"
            }
        }
    ],
    "last_login": null,
    "is_apiuser": true,
    "intercom_user_id": null,
    "is_sso": false,
    "is_owner": false,
    "mfa_enabled": false,
    "first_login": null
}
And that's it!
Explore this documentation to learn more about all the API capabilities and make the most out of it!